Permaculture pathways
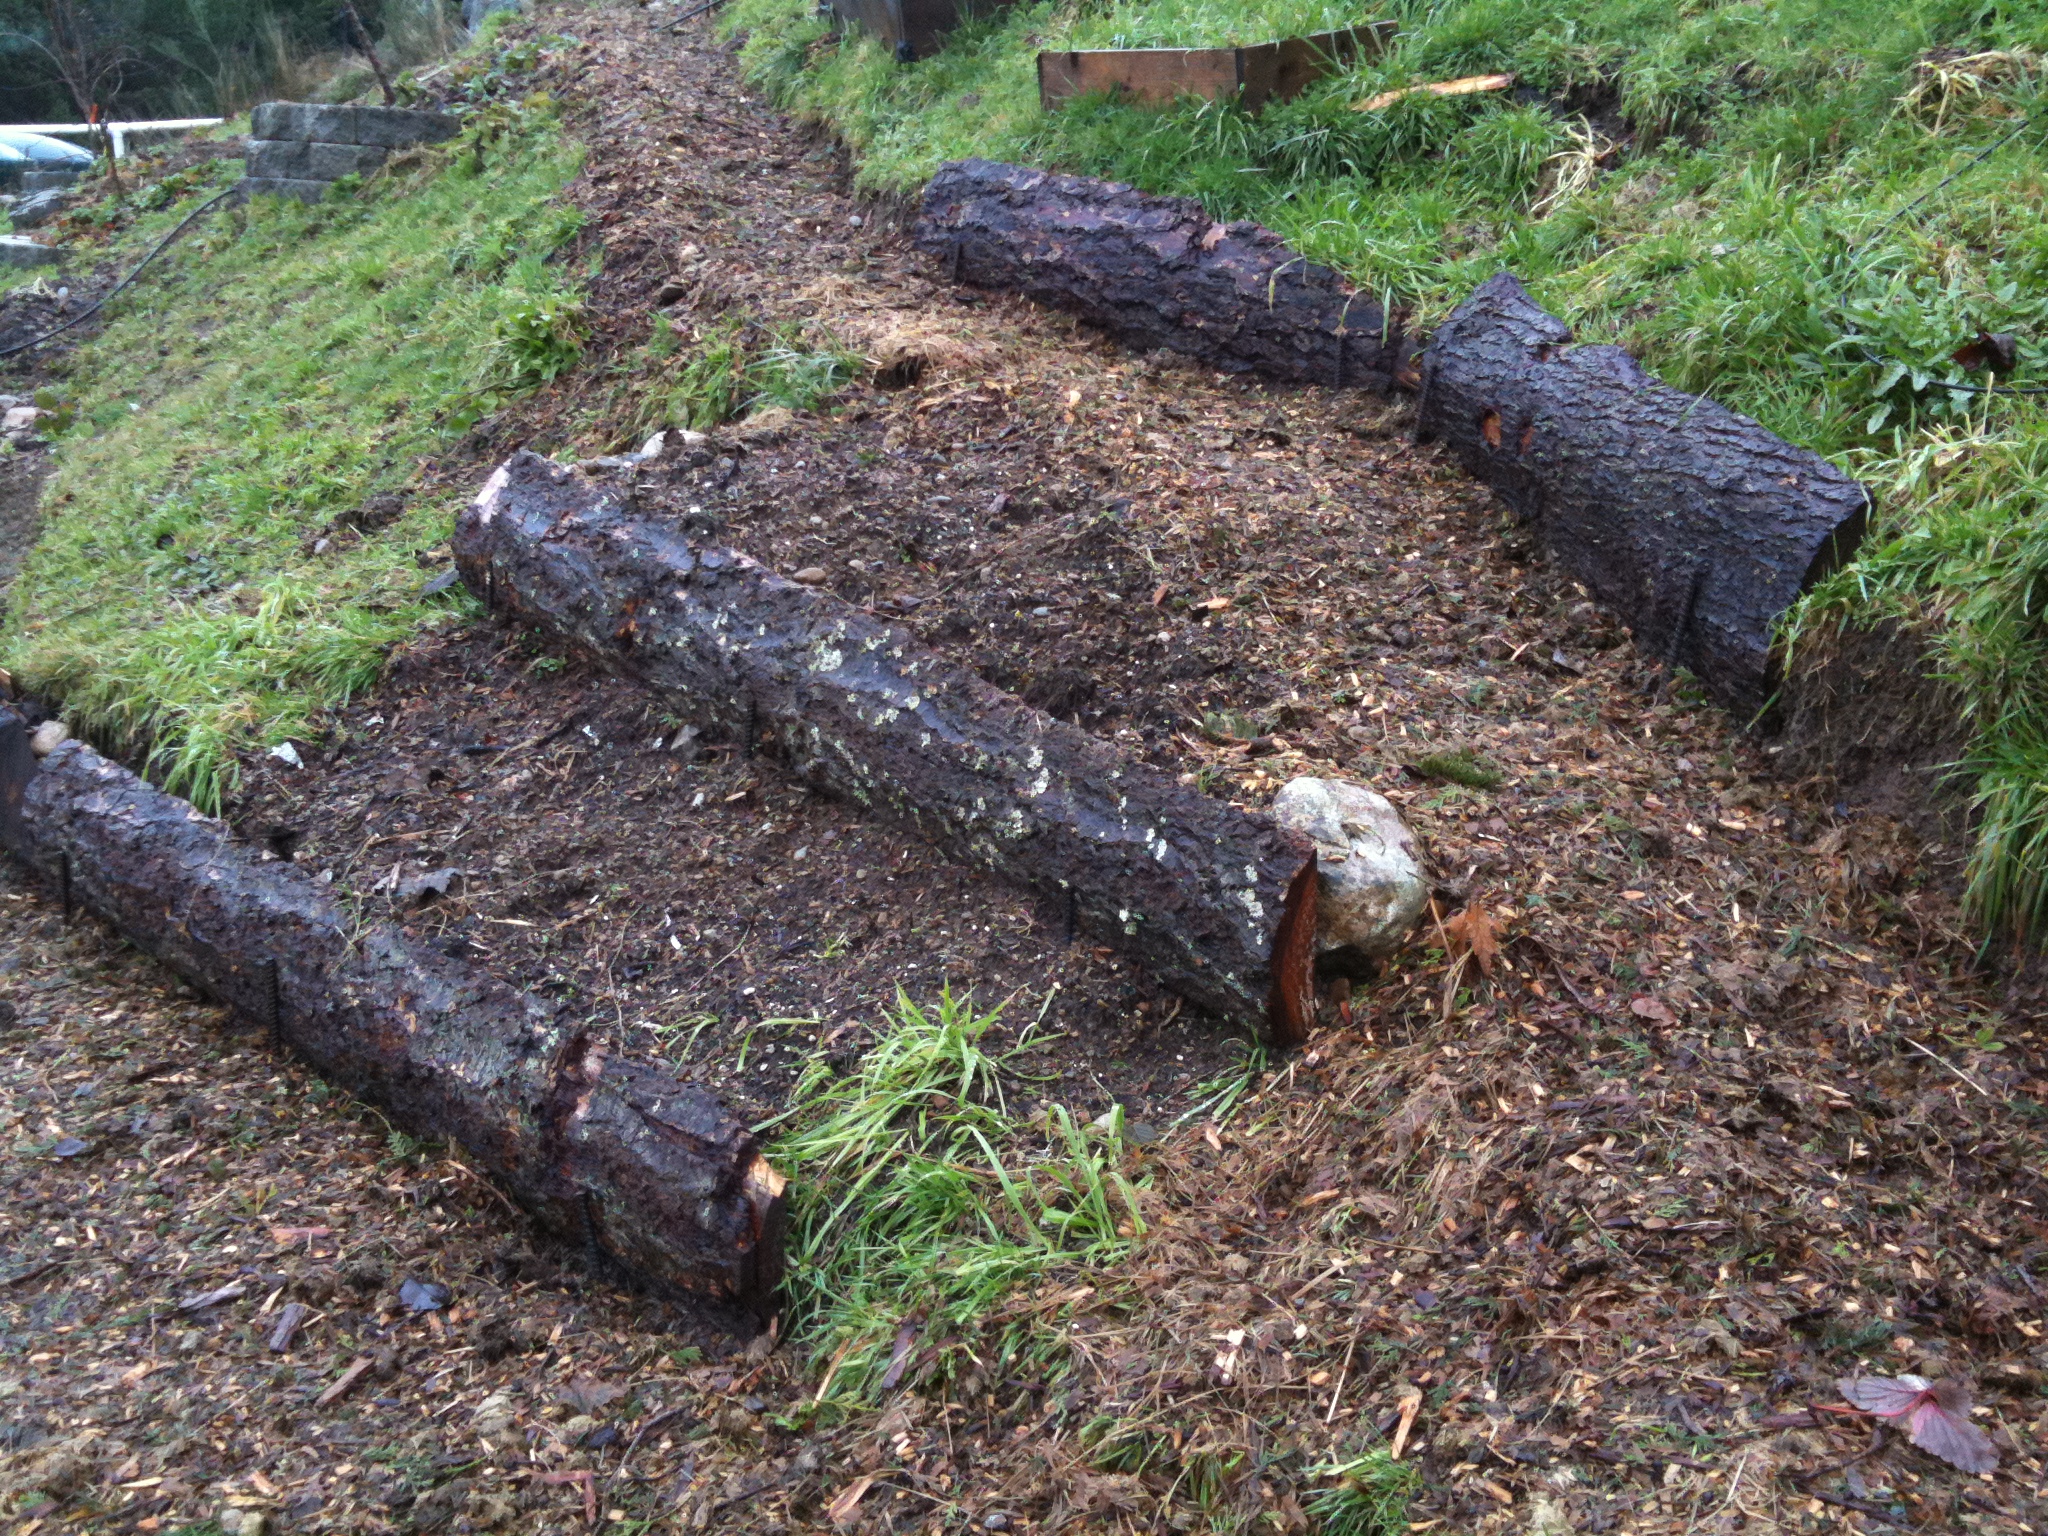
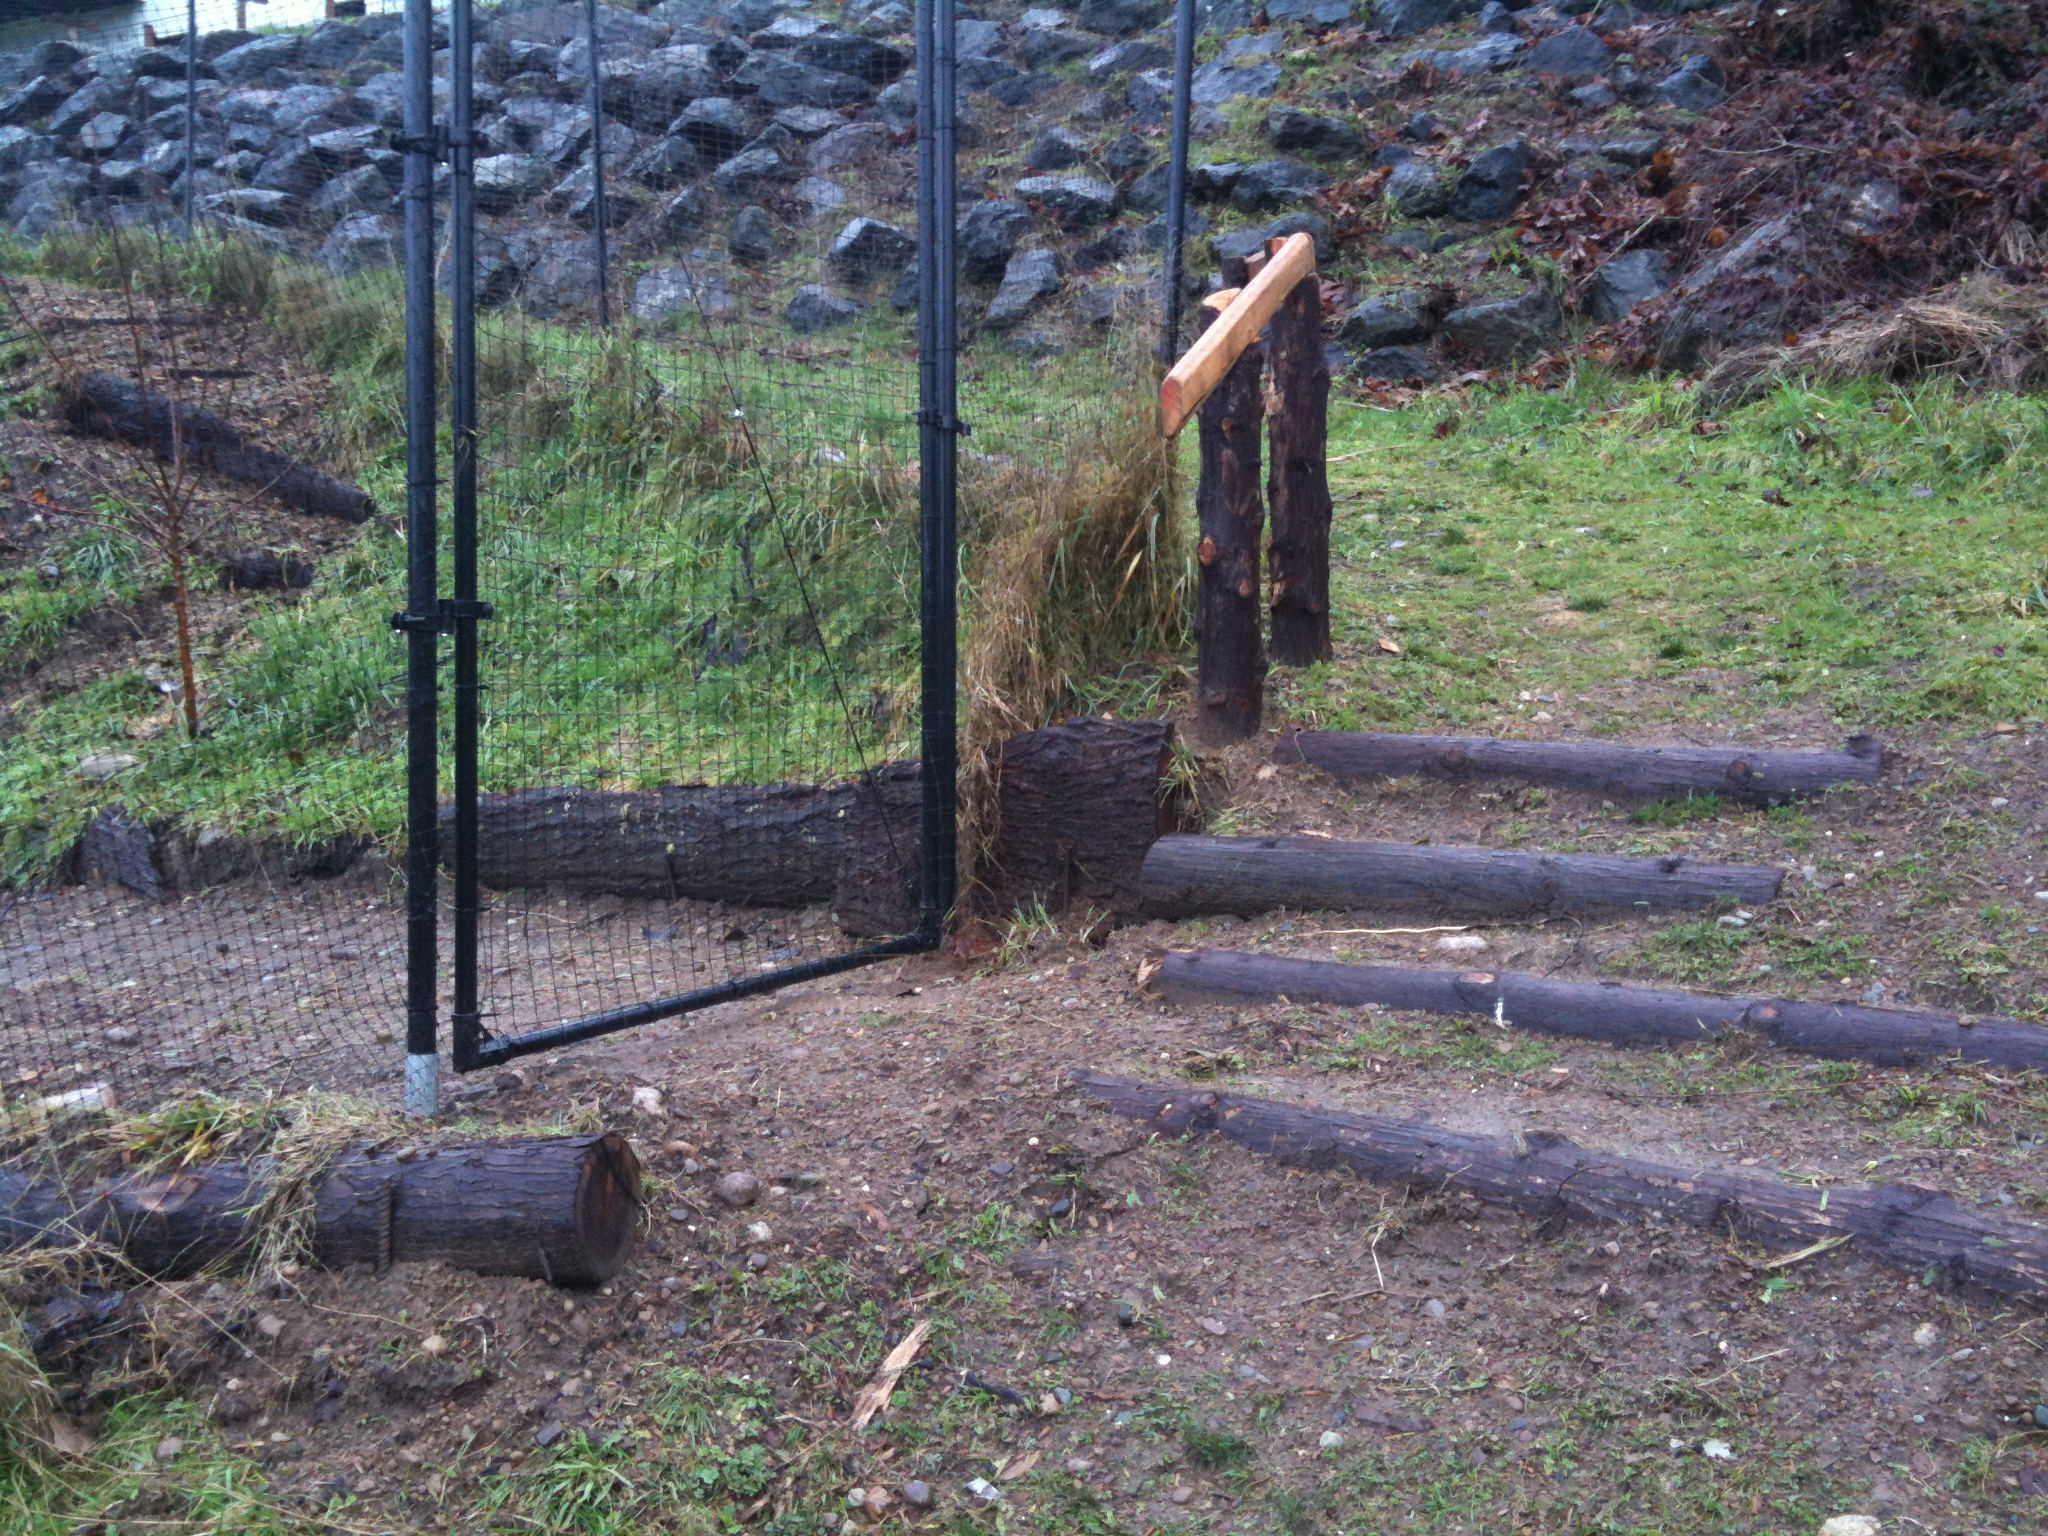
Posted: January 10, 2011 Filed under: 3. Food Security | Tags: food forest, permaculture Comments Off on Permaculture pathwaysUpdated the food forest pathways, replacing the temporary stairs, which were mighty uncomfortable with my incorrect rise over run. Went back to the same permaculture crew that designed our food forest on paper and hired them to fix my mistakes in traffic flow through the garden. Wow. Awesome ideas.
We got the rough cut boards from a neighbor with a backyard saw mill.

The joys of garlic
Posted: March 23, 2010 Filed under: 3. Food Security | Tags: food forest, permaculture Comments Off on The joys of garlic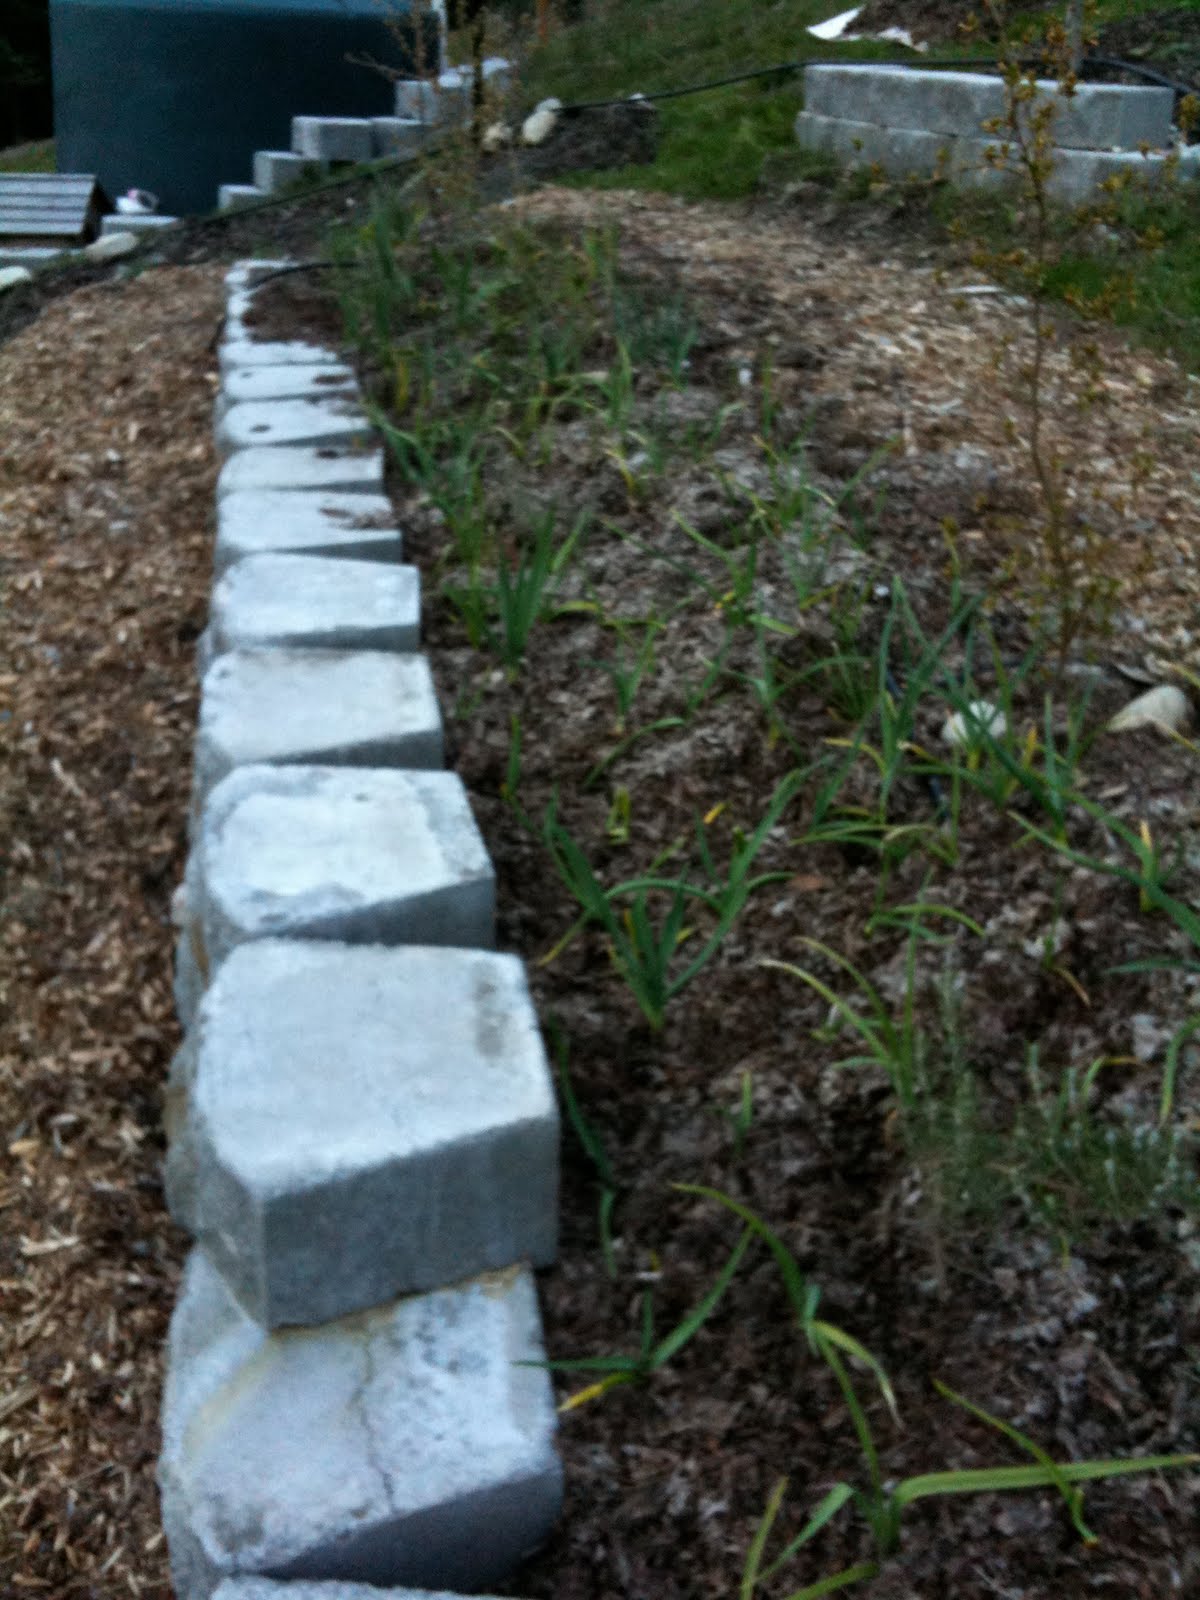
This photo does not really do justice to how exciting of a scene this is: 50′ of garlic. About eight varieties.
Anytime someone is our family gets sick (which is often with little kids), we cook with garlic for a week and it seems to keep the cold/flu from rampaging through the entire family. It’s pretty cool to see a two year old pulling cloves out of the baked garlic, mashing it on homemade bread, and scarfing it down.
This book was particularly helpful for selecting garlic that does well in our area, planting it right, and learning how to harvest/store it to last for months: Growing Great Garlic: The Definitive Guide for Organic Gardeners and Small Farmers.
Oh my gosh, I cannot wait.
Adding potatoes to the garden
Posted: March 11, 2010 Filed under: 3. Food Security | Tags: food forest, permaculture Comments Off on Adding potatoes to the garden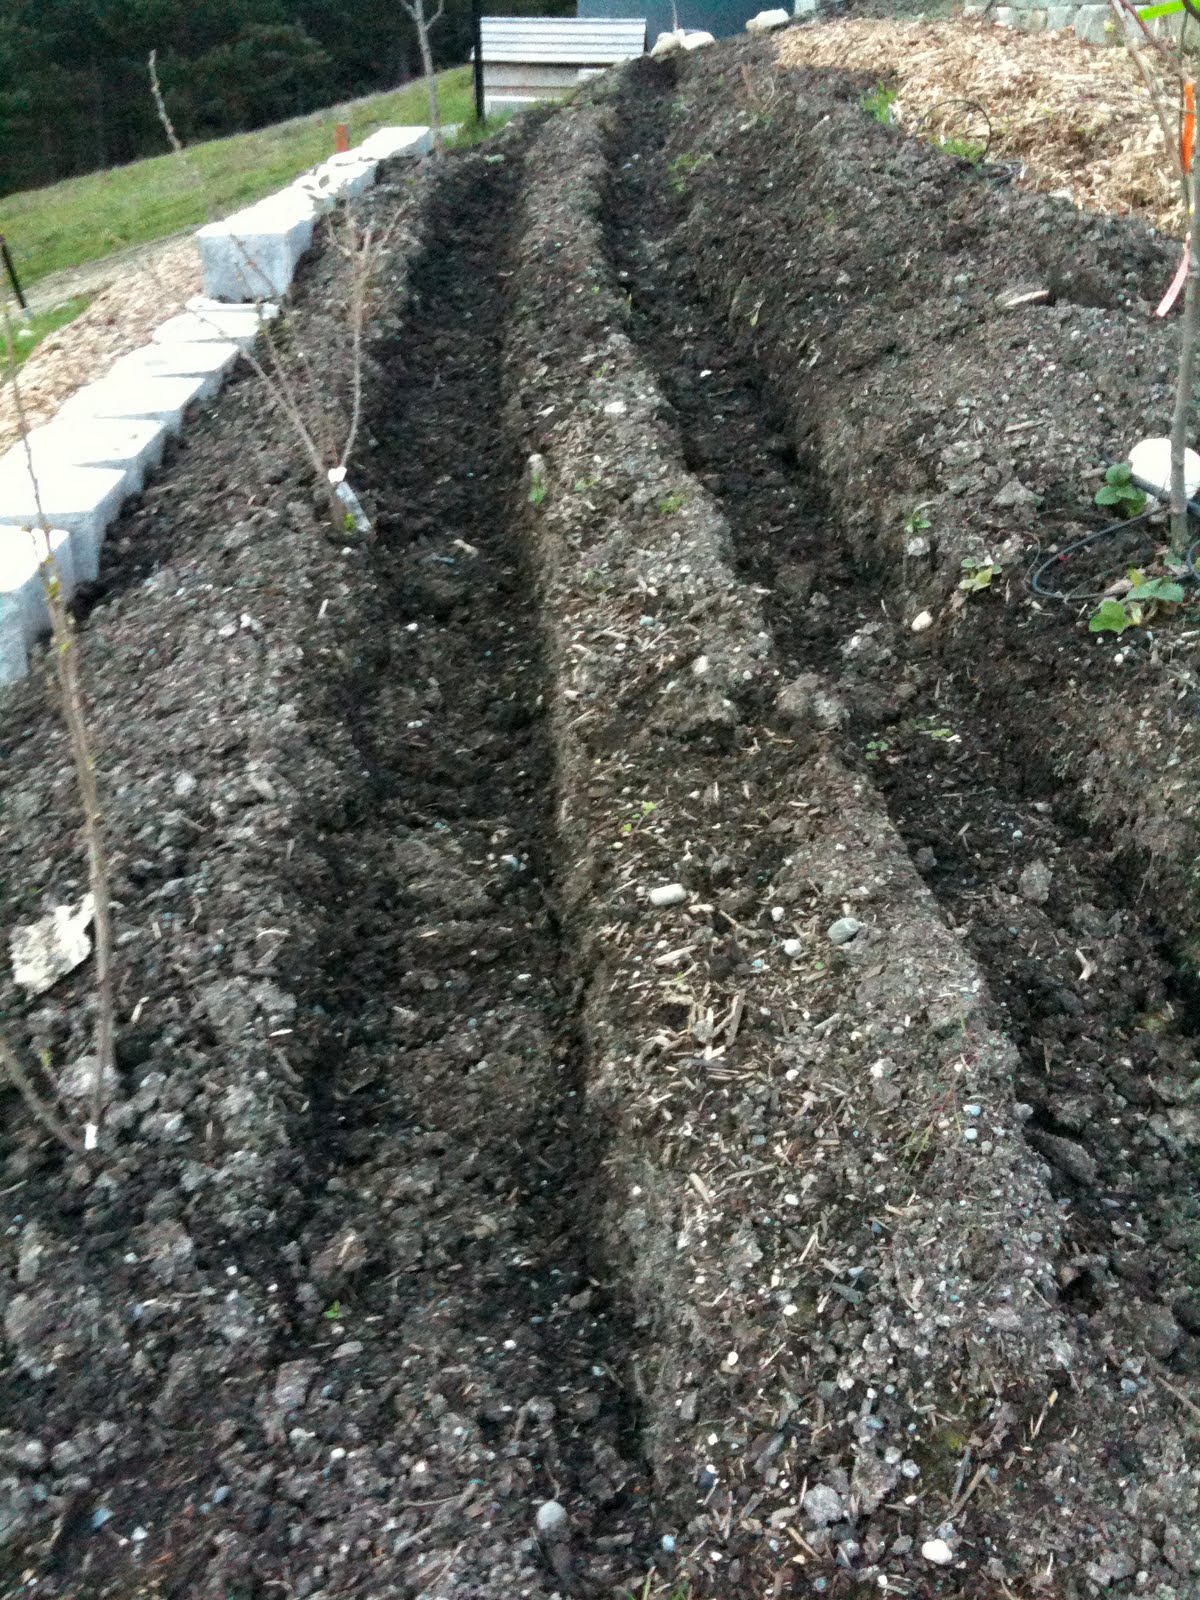
Back from another teaching gig and reinvesting in the garden.
Down in the food forest I added two sets of potatoes as an experiment. The first section is the fairly straightforward trench method so we can do hilling. I dug ~ 200′ of trenches, some in their own dedicated beds and some snaking around our new berry bushes and more two year old fruit trees.
In another section of the food forest that had a site prepped but no topsoil/compost (because I got tired of hauling compost this past summer) I added a line of buckets with potatoes in them. The plan is to add a second vertical layer of buckets (with the bottoms cut out) on top of these as we add more dirt to them during the hilling process.

I went with the buckets for the experiment (and a random trash can) rather than the more popular towers since not many folks actually *doing* the towers were getting good results. I found lots of articles citing the wonders of potato towers written by journalists, but it was clear none of them had actually planted these and watched over them for a season until harvest time. On the other hand, there are many more blog entries by folks actually doing the planting/harvesting with buckets.
And I had truckloads of extra buckets left over from planting the berry bushes and runs to the local deli/bakery for food grade 5-gallon buckets. Reminder: drill holes in the bottom for drainage.
The best part? At the end of the season, I spill the buckets over right where they are in the food forest to make a new bed for a different crop next year. Instead of hauling four yards of dirt down the hill in one day, I do it in small batches over several months…
Hauling manure with a longtail bicycle
Posted: February 9, 2010 Filed under: 3. Food Security, 5. Alt Transportation | Tags: car replacement bicycle, cargo bike, cargonista, electric ute, food forest, kona ute, permaculture Comments Off on Hauling manure with a longtail bicycle
Using my new Wike DIY trailer, I hauled by smelliest load by far this weekend: fresh horse manure.
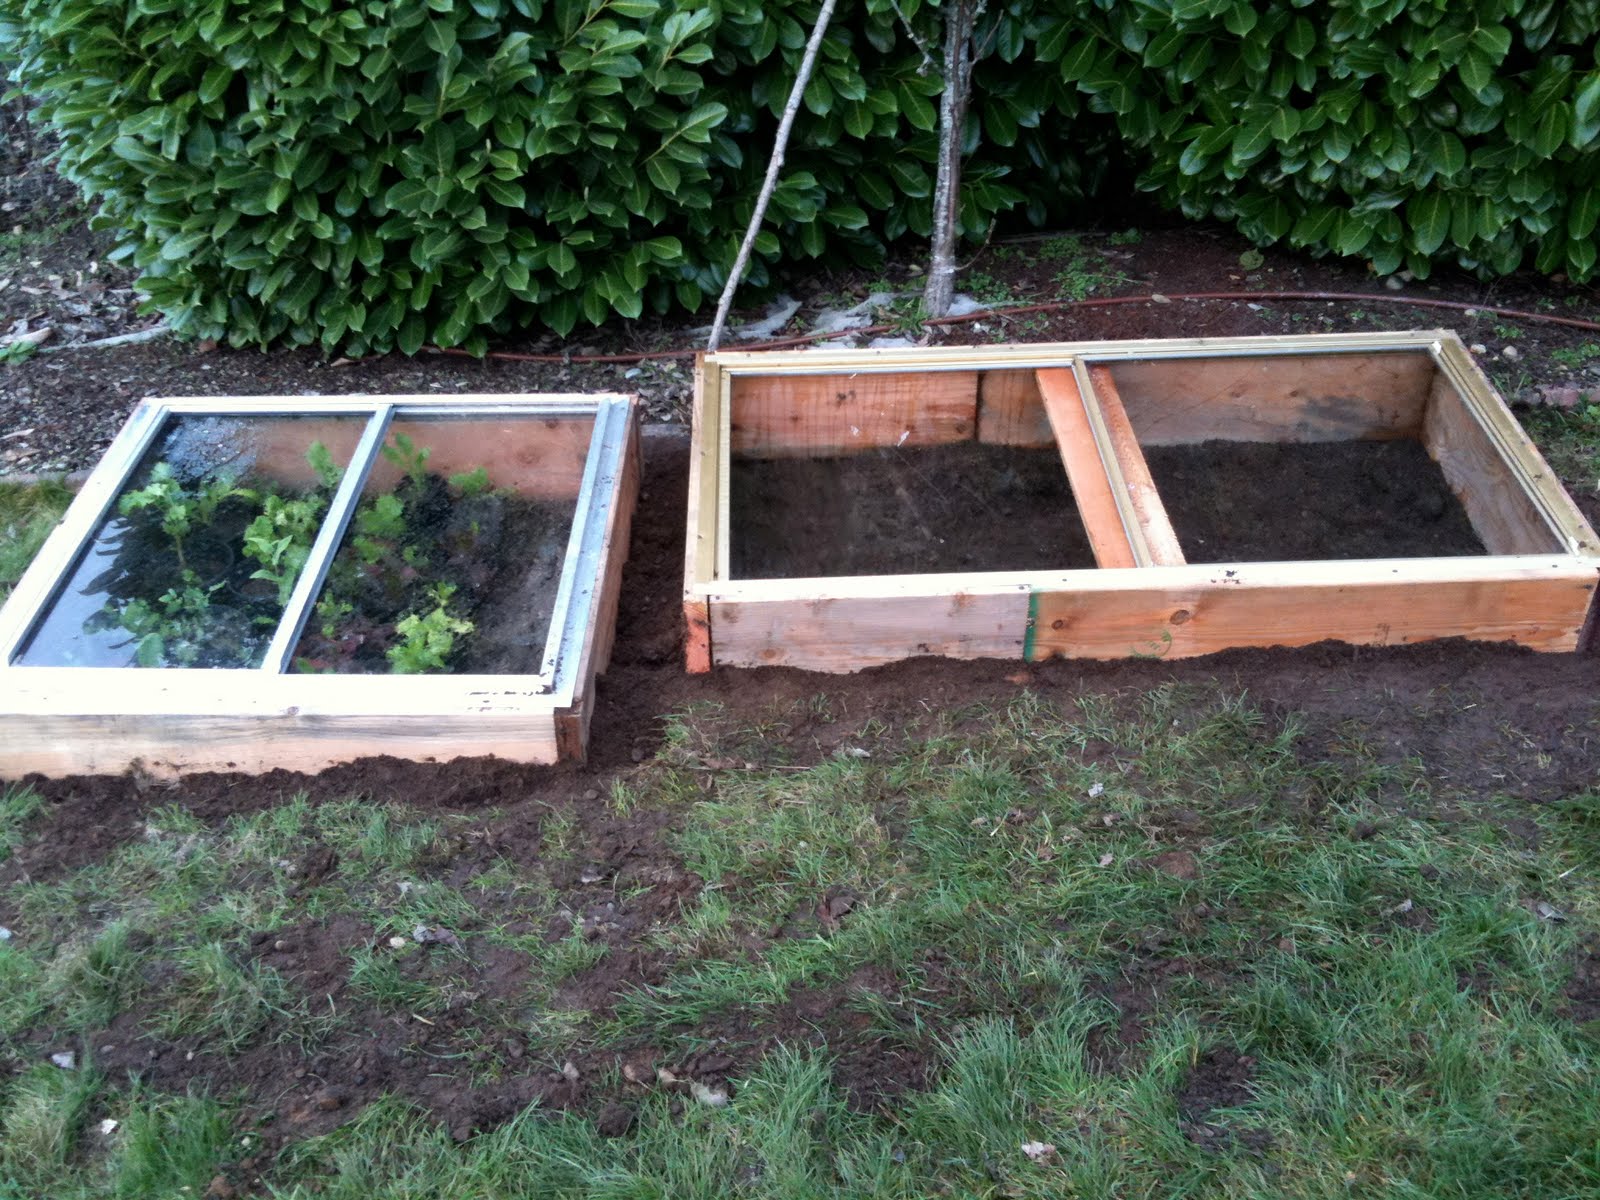
I built a set of “hot beds” to start seedlings last week from scrap lumber and Freecycle window frames. Hot beds are simply cold frames that have some heat source to warm the seedlings in the winter, allowing them to grow faster than an unheated greenhouse or cold frame.
I wanted to experiment with a non-electric heat source, which pretty much just leaves manure. Under the sloped glass roof of the hot bed, we now have 18″ of manure, covered by 6″of dirt, to provide plenty of extra heat for the vegetable seedlings to get a kick start on growing prior to Spring. We’ve got them located on the North side of our property, sloped to the south, to grab as much winter sun as possible.
The cargo bike and Wike trailer did great hauling this load, although the stable owner clearly thought I was nuts showing up with a bicycle to haul manure.
I’ve been testing the replacement eZee battery this past week; getting about 7MPC. Better than the previous 5MPC, but no where close to the claim 20-25MPC in the eZee documentation. Buyer beware.
Making food gardens attractive
Posted: November 22, 2009 Filed under: 3. Food Security | Tags: food forest, permaculture Comments Off on Making food gardens attractive Moved our kiwi trellis out of the food forest and up close to the house where it can be hidden from view for just one reason: my wife thinks it is ugly.
Extending the growing season
Posted: November 5, 2009 Filed under: 3. Food Security | Tags: food forest, permaculture Comments Off on Extending the growing season For true emergency planning, you need your garden producing food year round, even in the dead of winter.
Food Forest :: finishing the initial build out
Posted: November 1, 2009 Filed under: 3. Food Security | Tags: food forest, permaculture Comments Off on Food Forest :: finishing the initial build out After we got the dirt/compost into the new beds (on top of cardboard to smother the weeds), we planted a collection of berry bushes. Varieties include seaberries, honeyberries, raspberries, gooseberries, goji berries, goumi berries, and elderberries. We found this permaculture berry guide to be very helpful. We also brought in four more types of grapes and kiwis, both hard and fuzzy, to train along a new trellis.
Building a “food forest”
Posted: October 13, 2009 Filed under: 3. Food Security | Tags: food forest, permaculture Comments Off on Building a “food forest”
We’re creating our version 1.0 food forest. It’s a system of food crops arranged to mimic a natural’s forest ecosystem. Our fruit trees are the top canopy, berry bushes the mid-canopy, with normal vegetables making up the remaining forest layers.
It’s been fun to build, although quite a bit of work and I blew my budget by a factor of 3X. Several times during the construction I wondered if this was my version of a mid-life crisis. It probably is. Oh well, it least a food forest is more productive for my family than a little red sports car.

We started with this sketch of an existing site on our property where I had installed deer fencing and drip irrigation already for 15 fruit trees and a handful of raised beds. I had already chipped rough stairs out of our heavy clay soil. We laid out the pathways between the existing two year old fruit trees with tape. We then brought in 30 yards of compost/dirt to build the new mounded beds.

This is the second of two loads. The first 15 yards of compost/dirt only made three beds (you can see them in the background). We could probably use a third load, but I’m *really* tired of hauling dirt up and down this hill. We’ll expand next spring for version 2.0.
Note to self: a truck containing 15 yards of moist compost/dirt is pretty darn heavy. Heavy enough that it will snap any irrigation piping in the ground that it rolls over. Oops. This one only cost me $4 to fix, but several hours of digging to find the broken pipe.
Permaculture expert
Posted: September 30, 2009 Filed under: 3. Food Security | Tags: food forest, permaculture Comments Off on Permaculture expert
I mentioned a “food forest” we’re working in several posts. Here’s a bit of background and an image to explain what that is….
Growing your own
Posted: September 29, 2009 Filed under: 3. Food Security | Tags: food forest, permaculture Comments Off on Growing your own
“Growing food in one of the most dangerous occupations on the face of this earth, because you are in danger of becoming free.”
