Re-balancing pastured poultry paddocks, and prepping for bees!
Posted: March 12, 2013 Filed under: 1. Philosophy, 3. Food Security | Tags: bee hive comparison, biopod, chickens in paddocks, chickens in pasture, greenhouse, grow lights, grubs, Kenyan bee hive, Langstroth bee hive, pastured poultry paddocks, Perone bee hive, shifting chickens, Top Bar bee hive, vermicomposting Comments Off on Re-balancing pastured poultry paddocks, and prepping for bees!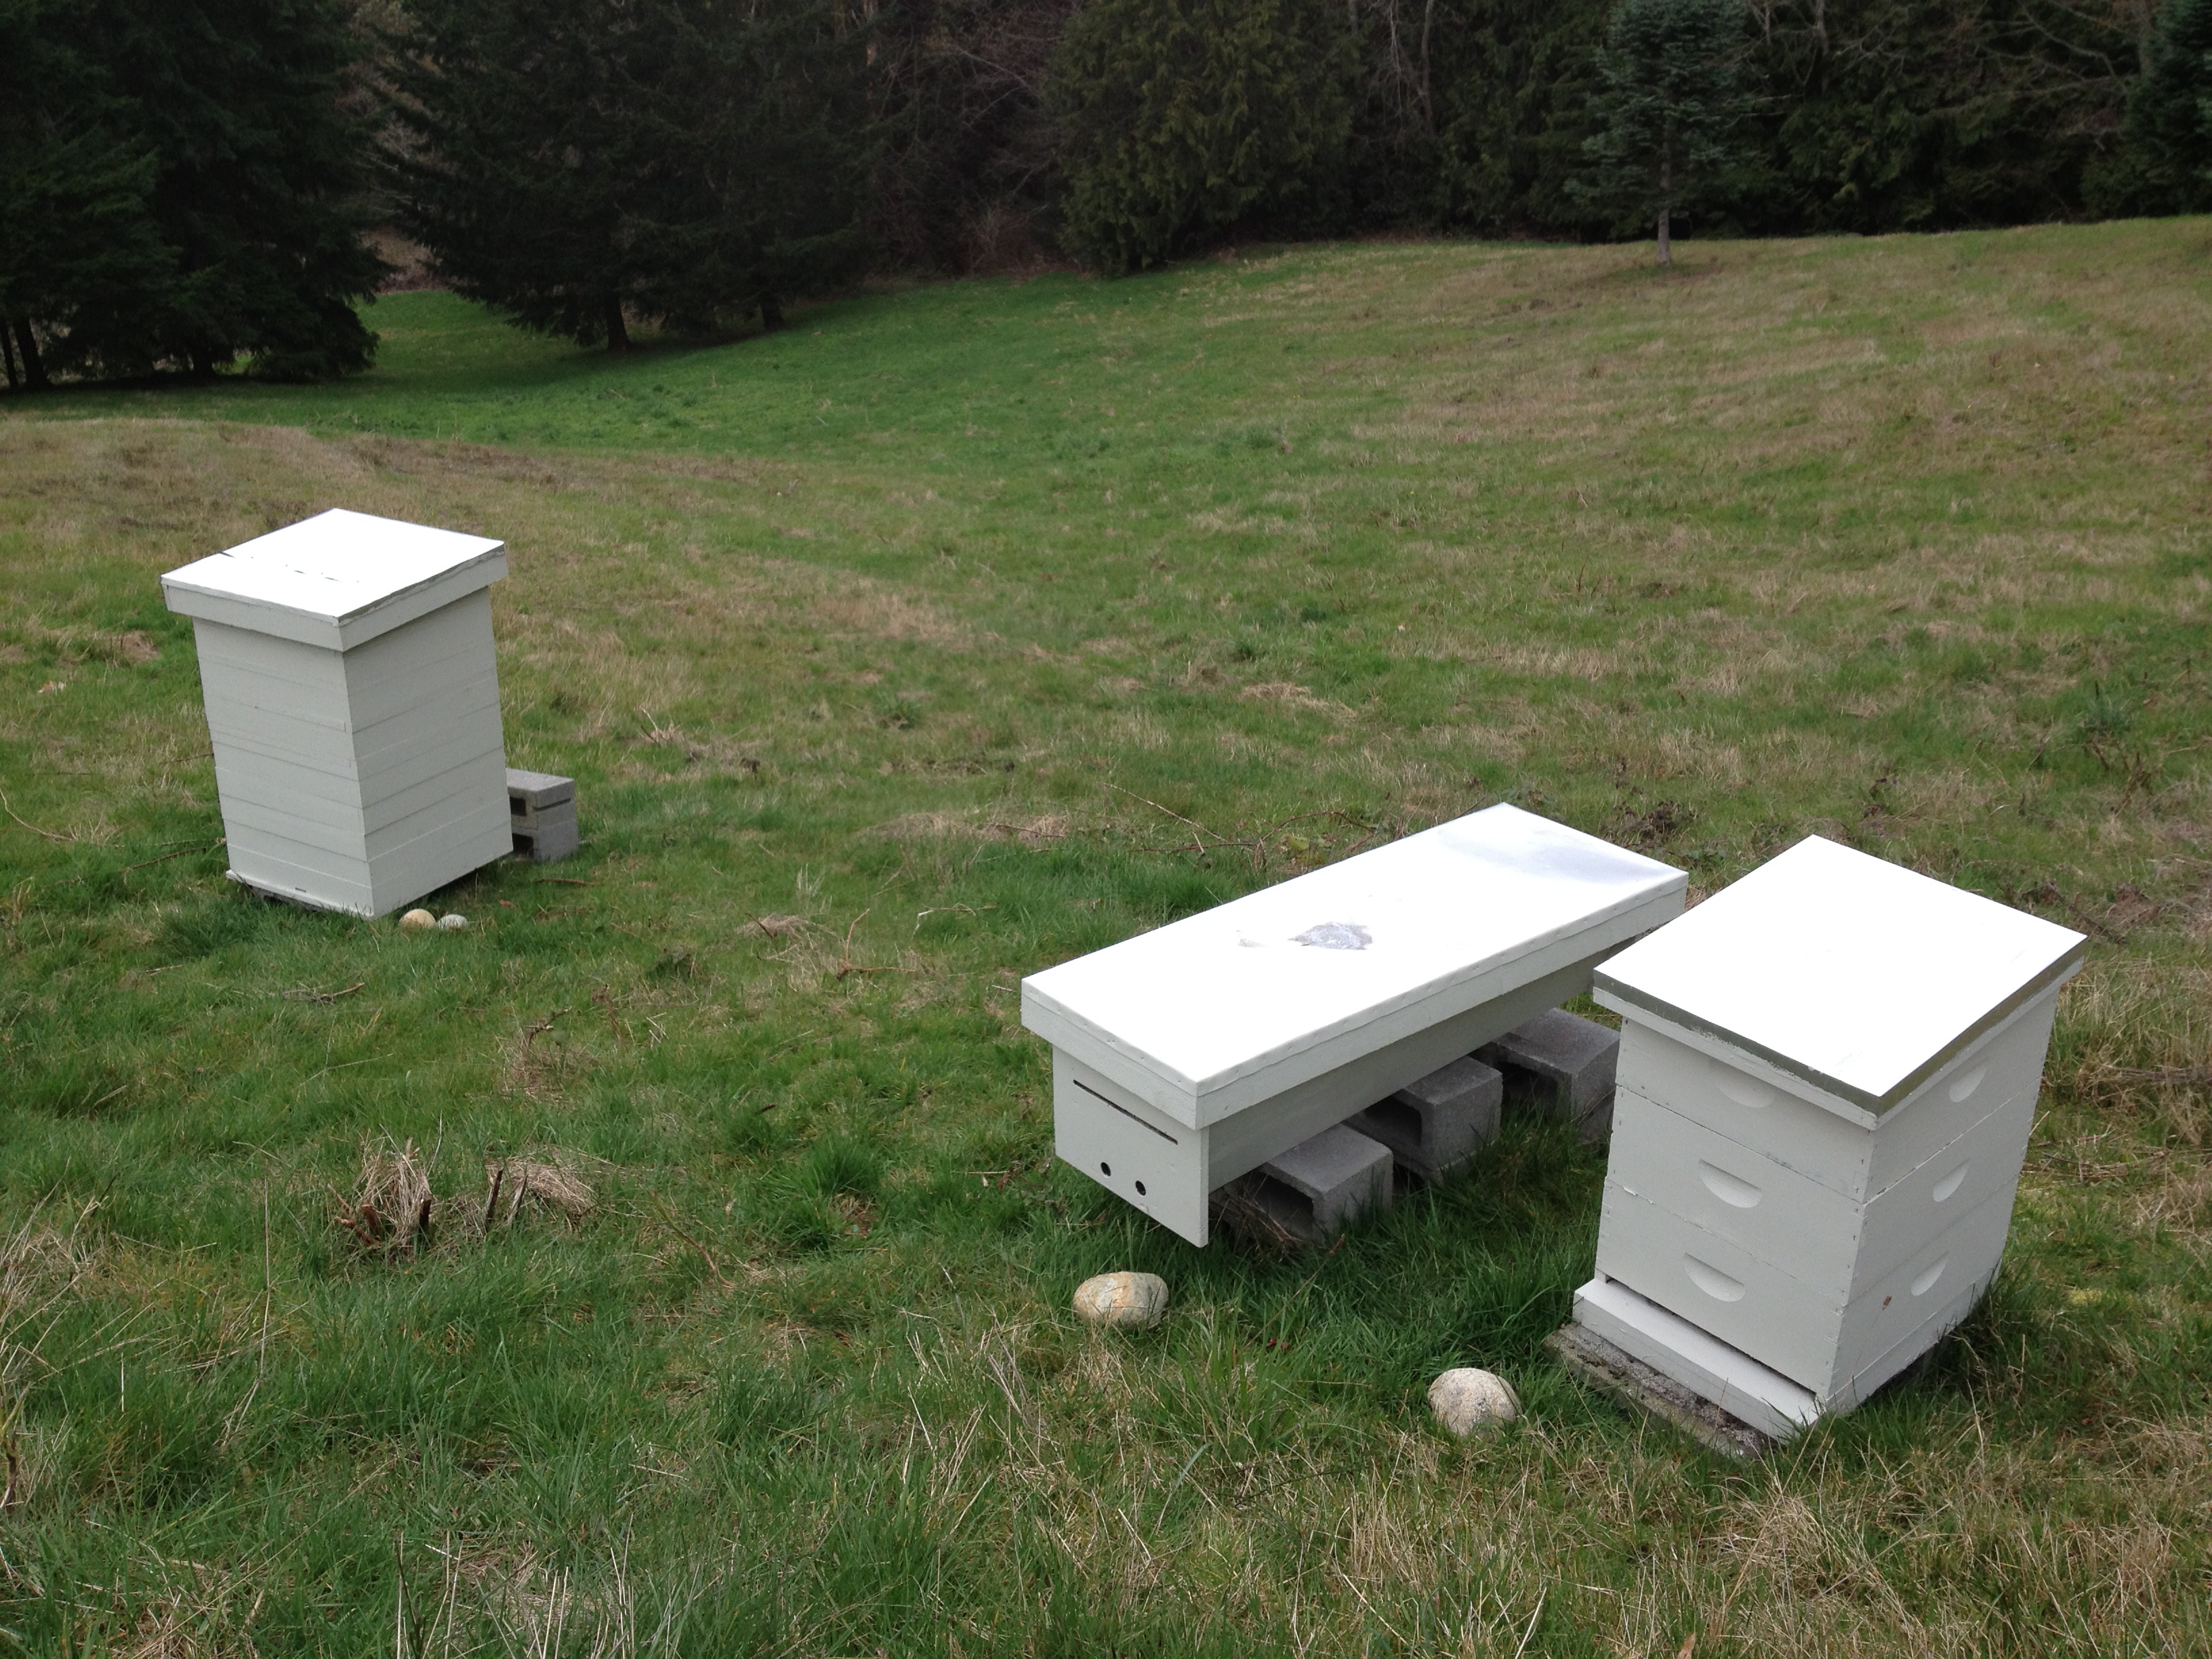
Bee Hive Comparison: Perone, Kenyan, Langstroth
Highlights for the month:
- We’re back in balance with a smaller flock of 20 layers after selling 10 birds to local farming friends. The smaller flock means less eggs for my son to sell in his first entrepreneurship venture, but also significantly less work for me hauling extra food/water and less work for our family when rotating the entire poultry paddock setup to fresh pasture. Now I’m re-thinking how to capture all that great compost that we’re currently leaving in the field through a combination of a permanent coop with movable paddocks.
- As my friend Laura – purveyor of Modern Victory Garden – says, we’ve returned to the season of the Seedling Shuffle with rapid rollout of seedlings from our grow lights to our greenhouse, and then (for the cold hardy) out into the food forest under mini hoop houses.
- After spending enough time on Permies.com forums, I finally realized I should be growing my own chicken food. I’m now reseeding our pasture with similar ingredients as what is in our commercial feed that we buy direct from the manufacturer via our homesteading group of friends. By the time the birds return to this same ground a year later, it should have a healthy crop of what they normally eat ready and waiting for them. I also added a Biopod to our vermicomposting setup to convert kitchen scraps into grubs for the chickens.
- Ready for the 2013 Battle of the Bees, where we’ll be able to directly compare how our Italian bees do in three radically different hives. From left to right you see a new Perone hive (named after the Argentine inventor) I recently built with our local Bee Godfather, a Kenyan (aka Top Bar) hive, and a classic Langstroth hive. When the bees packages arrive later this spring, we’ll install two packages in the large Perone hive and one in each of the others. Will report back later in the year how this direct comparison between the hive styles pans out, at least for our microclimate here in the Pacific Northwest.
Lowlights for the month can be summed up in just this one graphic. Ugh.

Expanding our grow light setup
Posted: March 14, 2011 Filed under: 3. Food Security | Tags: grow lights Comments Off on Expanding our grow light setup At first I balked at the ~$100 price tag of these tents for grow lights, and I could not find any used ones. But then I calculated how much earlier we’d be able to grow our our produce and stop buying from the store and our CSA and the return-on-investment becomes an obvious good one.
We had our original setup of grow lights in our laundry room, but quickly ran out of space when the second wave of seeds needed to be sown. By moving the set up out to the unheated garage inside this tent, the existing two sets of lights + heat mats can be use to nurse along *many* more seedlings. The tent serves as an insulation barrier and the interior reflective surfaces allows the lights to reach many more seedlings.
An extra IKEA shelf system from the attic proved to be the right size to fit inside the tent with just four quick saw cuts. With the sun making its reappearance every few weeks, we’re looking forward to transplanting all these seedlings out into the food forest soon!
Seed starting with grow lights
Posted: January 28, 2011 Filed under: 3. Food Security | Tags: grow lights Comments Off on Seed starting with grow lights After skipping past the inevitable marijuana links, there is a treasure trove of information on grow lights out there.
We’ve now got seedlings starting under grow lights with a heat mat. Once they are big enough, we’ll transfer them outside into the cold frames, and then on to the raised beds gardens or the food forest. Very useful and low electrical hit for getting a huge jump start on food production for the season.
A big thanks goes to Modern Victory Garden for helping me understand how grow lights fit into an overall planting schedule.
